Method
- 100g margarine (or softened butter, not melted)
- 100g sugar (caster if you have it, granulated works fine too!)
- 2 eggs
- 100g self-raising flour
- a few drops of vanilla extract
- Orange food colouring (or yellow and red)
- 1tbsp cocoa powder
- 1tbsp milk
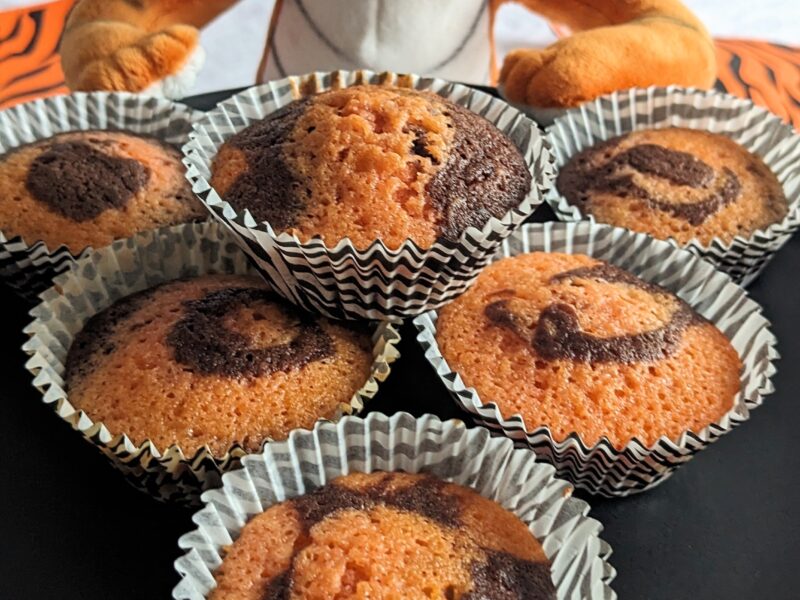
To celebrate the launch of our Jacksons Tiger Bloomer, Bread Board ambassador Lunch Box Mama created the cutest stripey tiger buns for us! They look so effective and arere super simple to make. Make alone for the best chance of tiger stripes through the cakes, or get the little ones involved for extra joy (and mess) and they’ll still look perfectly tiger-ish!
- Preheat the oven to 180°C (160 fan) and pop your paper cases in a fairy cake tin.
- Add margarine and sugar to a mixing bowl and cream together until pale.
- Crack in the eggs, one at a time, mixing between each.
- Gently fold in the flour until just mixed (you don’t want to over mix).
- Get two smaller bowls (cereal bowls / kids bowls are perfect) and split the mixture between the two.
- You’re going to turn one bowlful into orange cake mix, and the other into chocolate.
- To one bowl add your vanilla extract and a squirt of orange food colouring (or a big squirt of yellow and a drop of red) and mix. You’re aiming for a light-mid shade of orange as it will get more intense as it bakes. Add more food colouring if needed, then once you’re happy, set aside.
- In the other bowl sieve in your cocoa powder and mix. Add your milk to loosen the mixture.
- Now to get your tiger vibes on!
- Either let your little one slop a teaspoon of orange, then chocolate mixture, into the cases alternatively. Leave it like that or you can then use the back of a teaspoon or a skewer to slightly swirl the mix (but don’t over mix back to one colour!).OR
- Add a teaspoon of one colouring to the bottom of one case. With a second spoon add a little of the opposite colour right on top of the first, and tap the spoon down into the centre a few times (pushing the second colour inside the first a little). Repeat with the first colour, and then the second again (using smaller spoonfuls for dollops three and four). Don’t worry if it looks rather messy, the insides will be lovely and marbled!
- Once you’ve added all your mixture to your cases, bake in the oven for 8-10 minutes until baked through – test by inserting a skewer (or cocktail stick) in the top and checking it comes out clean (or with crumbs attached, rather than sloppy cake mix!)
- After a few minutes transfer the cakes to a cooling rack until temptation gets the better of you, then enjoy!